 Step 2 - Compacted Aggregate Base
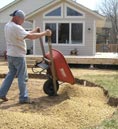
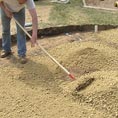
 Place and compact uniform layers of aggregate base material throughout the excavated area until the required depth and slope is achieved (Fig. 1, Fig. 2). Best results will be achieved by using a vibrating plate compactor
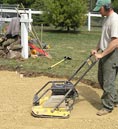
 Slightly moisten dry base material and compact in layers of no more than 4 inches at a time. Start at the perimeter and work your way toward the center, overlapping each previous pass. Make at least two complete passes to create a flat, smooth base. (Fig. 3)
Step 3 - Setting Screed Guides
 Paving stones are laid on a 1-inch layer of bedding sand. Screed guides (see tool list) are used to level the bedding sand. Set screed guides parallel to each other on the compacted aggregate base and check grade. The top of the screed guides will be the top of your sand bed and will determine the pitch and flatness of your paving-stone surface. (Fig. 4)
Step 4 - Installing Edge Restraints
 To prevent lateral movement of the paving stones and to ensure proper interlocking, edge restraints should be installed on top of the crushed-stone base on all unrestrained edges of your project area. Install edging initially on only one or two sides of the project area.(Fig. 5)
This is where paver placement will begin. If possible, begin at a long, straight edge. After all paving stones have been laid, install the remainder of edging. Ribs of edge restraints may be easily cut to permit bending of the restraints for curved edges. Stake edge restraints at all ends, leaving no more than 18 inches between spikes.
Note: Circlestone comprises concentric rings of paving stones placed around one center paving stone. After all Circlestones are installed, place edge restraints around the perimeter of the project area.
Click on image thumbnails to view larger versions
